
Engineered wood flooring comprises an upper layer of real wood plus a central core of plywood or softwood. There is also a veneer layer, providing balance.
This material offers a number of benefits, including affordability, durability plus ease of maintenance and installation.
And if you’re wondering how to sand an engineered wood floor, we’re here to help with this guide. What’s more, you don’t have to be a professional to do it.
When do I need to sand my engineered wood floor?
Actually, you don’t have to sand an engineered wood floor all that often. However, there are a number of clues as to when it could be time for this task. And these include staining, general wear and tear, water damage or an uneven surface. Additionally, if you’re preparing your surface for a new stain or finish, sanding can be part of that preparation.
Sanding retains your floor’s structural integrity, giving your floor a seamless finish.
What tools will I need?
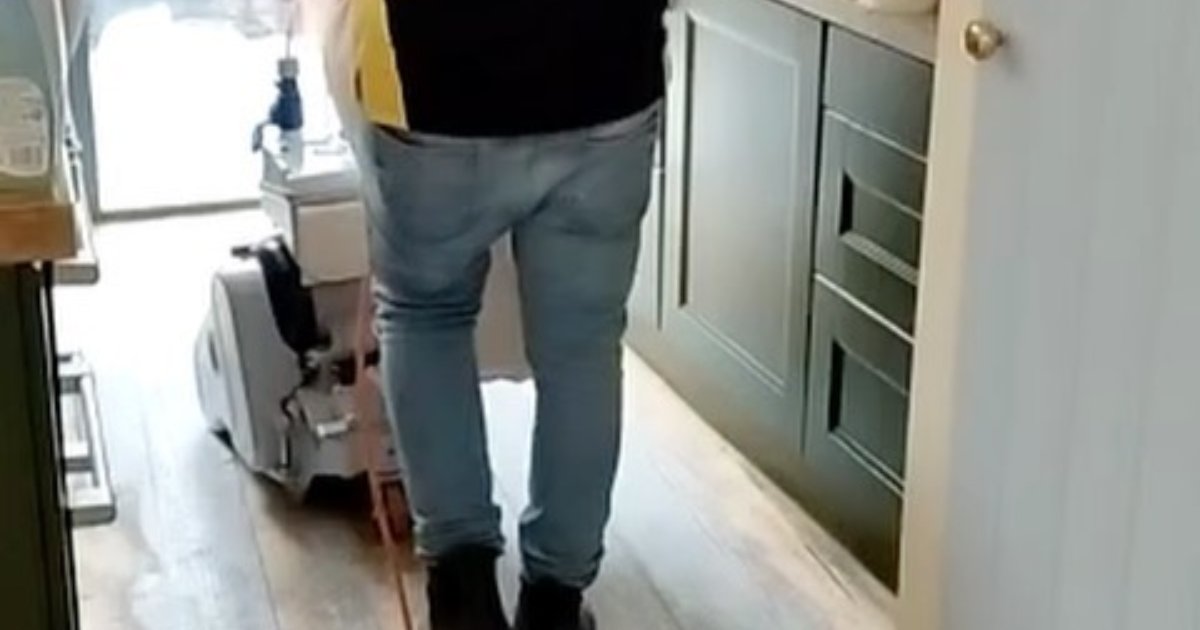
Ideally, you’ll need access to orbital, drum and edge sanders to do a thorough job.
Start off with coarse grit
Use coarse grit sandpaper on the drum sander in the first instance to remove any potential flaws in your wood. Work in straight lines, following the grain. And if you overlap on yourself a little after each movement, you’ll sand more evenly.
Move on to finer grits
Then move on to finer grits – for example, medium, fine or extra fine, thoroughly cleaning the floor after each one to avoid cross-contamination of different types of grit. Make your passes in perpendicular directions to each other to get rid of any leftover scratches.
Edge sanding
With an edger, work your way along the walls and corners which you can’t reach with your drum sander. Blend these areas with the rest of the surface to ensure an even finish.
When sanding edges and corners
These areas need a different approach. You’ll need edge and orbital sanders, plus an edge-sanding attachment. Kick off with a medium-grit paper, and move on to a finer grit as required. As you work at the edges of the floor, have your sander at a slight angle to avoid gouges or grooves. Also, it’s a good idea to work small sections at a time, and to move the machine along the edge steadily.
You’ll need to reach tight corners, so you may have to change to a smaller handheld sander or sanding block.
Sanding by hand
You may need to do this to get rid of smaller flaws or to ‘feather’ the edges of your space. And, to do this, you can use an orbital handheld sander or a sanding block with sandpaper with a fine grit.
Feathering
Feathering the edges of your floor will create a seamless transition between the main floor area and edge-sanded sections. This involves using paper with a fine grit. Gently sand the places where the edge-sanded portion meets the remainder of the floor.
This will also blend the floor, so that you won’t be able to spot any ridges or visible transitions.
Final sanding
For this, a super-fine grit paper gives you a silky finish. Clean the floor and sandpaper first so that no particles become trapped in the finish. Then, lastly, vacuum and mop your area to clear debris and dust.
Get in touch
If all this sounds too complex or too much hard work, we don’t blame you. But at London-based Royal Stone Care, helping homes and business across the city and outside, we’re here to help.
We provide a wide range of services including wood sanding, and this will help you get the most from your real-wood floor or other items. So get in touch today to learn more.
